Double RAW Work-Flow for extreme ISO
Not sure what else to call it. Here I’m going to outline a work-flow that I have evolved for working up my b&w image from exposures at iso 3200, 6400, 12800 and above. Doing work with a local vaudeville troop, I found myself standardizing on iso 6400. I didn’t appreciate the noise much, simply accepting the results, expressing it as grain. The noise also limited any minor sharpening, tone fixes, etc. Recently Rogue did a series of performances where I was forced to move to iso 12,800 and above. So I bit the bullet and began running some experiments. The results surprised me – this work-flow helps some 3200, noticeably improves iso 6400, completely salvages 12,800, making even 25,600 usable.
Exposure – forced to use shutter speeds of 1/200 to 1/250 in low light, I’m forced to work with iso set to auto, otherwise setting aperture wide open. Results usually range from 3200 to 6400. But the last set of performances everything was consistently 12,800 and above.
RAW 1 – I open the RAW file in DxO Photolab 5. I’ve tried Iridient Transformer (grainy), the much heralded Capture One (only fair), and a half dozen other apps for this, to no avail. And of cvourse Photoshop raw conversion of Fuji files really sucks. Within DxO I apply what they call Extreme Prime noise reduction – nothing else other than a tad of exposure correction if needed. One can continue work on the file there, with some improvements but the results are, for some reason, not quite what they are if I export the file to.dng raw format before making any real progress on the file.
RAW 2 – Opening this in Photoshop RAW, I find it best to simply hit the auto color button, then the b&w, and then make as many of the adjustments as I can right there. These are low-light, uneven exposures, with all the negative effects that come with that. The big surprise here was that there seems to be a noticable further improvement in noise, without any further noise control effort.
Photoshop – Next I generally convert to RGB and proceed as if it were a normal range iso exposure.
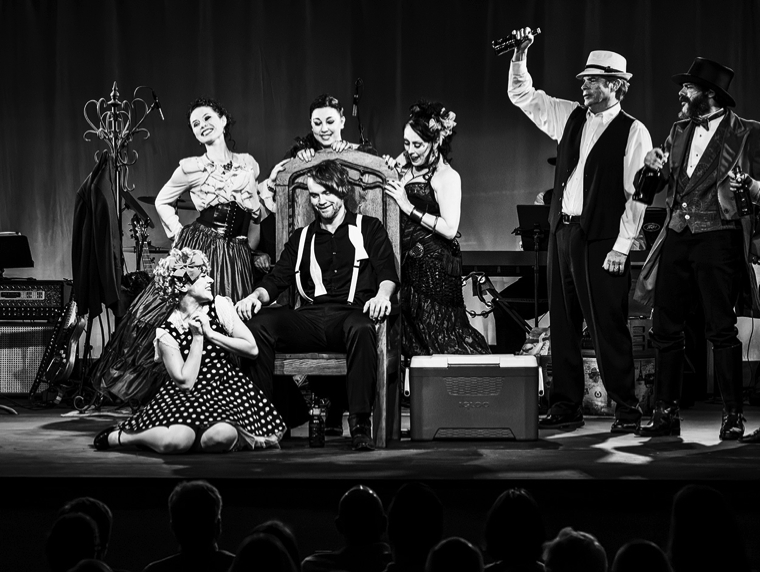
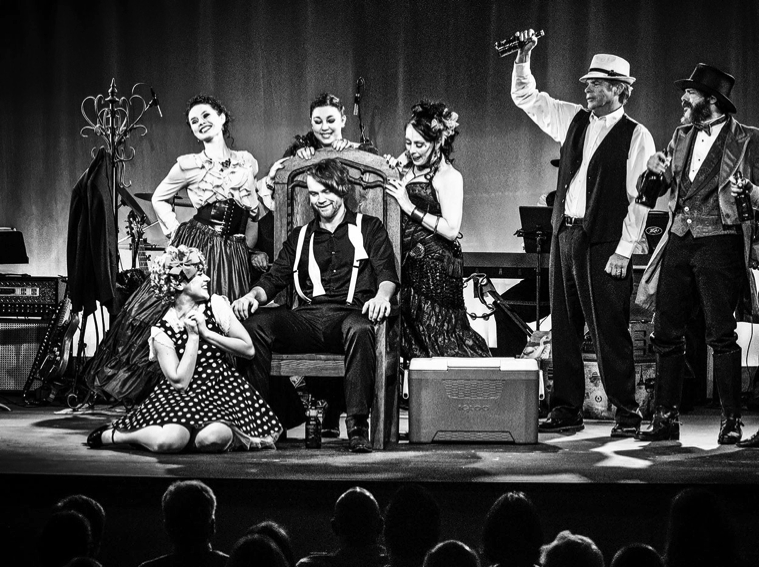
Above image, the double-raw work-flow version of the first image now in the Rogue Swan Vaudeville Cabaret folio. Below, the same exposure without using that process. Note the noise/grain – what I thought until now was not so bad for b&w from an iso 6400 exposure. Hardly close to the new process however. Any further improvements in tone/contrast simply aggrivated the noise issue – this being pretty much the best compromise at the time. In fact, it couldn’t be sharpend at all before because the effect was horrendous. Note, usually with this type of comparisons one posts close-ups to really show the difference – but if it is obvious at rgular viewing proportions, I figure it’s more than enough. The difference in print size potential is a real bonus.
Try it for yourself…